Menu Planner

Meal Plans, Shopping Lists, and Recipes all in one app

Tutorials and Frequently Asked Questions

If you can't find what you're looking for or feel there needs to be some additional help here, please let me know via email.

Explain the Customizable Data in Menu Planner

Menu Planner is very fliexible and allows you to setup your own categories for meals, courses, and foods. Here is a explanation of what those items mean.
  • Meal Types: These define which meal of the day you're planning for. Some of the basics are already included for you. Breakfast, Lunch, and Dinner for example. This is where your meal planning will start. You'll choose the Meal Type you want to plan before you select the meals that you'll plan to eat.
  • Categories: A category is just a way to "tag" an item or recipe that makes it easier for you to find it in searches and when planning a meal.
  • Foods, Ingredients, and non-food Items: Menu Planner makes tracking your foods, ingredients, and non-food items easy. Each item can be considered food, an ingredient, both, or neither.
    • Food: Food items appear when you are planning a meal. For example, a protein bar could be considered a food item. Food items can also appear as ingredients if you turn on the option for that item that says "Display on ingredient list"
    • Ingredient: Ingredients appear when creating a recipe. Ingredients can also appear as food items (apples, for example) if you turn on the option for that item that says "Display on food list".
    • Non-Food: This simply means you have turned off the "Display on food list" and "Display on ingredient list" options. Non-food items can't be selected for meals or recipes, but they can be selected when making a shopping list. This helps keep non-food items from appearing in the food list while you're trying to plan a meal!
  • Stores: You can add all of the grocery stores you visit and assign items to those stores so you can quickly see which items you need to purchase at each store. Each store can be assigned any number of aisles to help sort out the items on your shopping lists. Under each individual item's properties (food, ingredients, etc.) you can specify which store you purchase that item from, and asign it to an aisle if you wish. An item can be assigned to more than one store if needed.
  • Shopping Groups: This is another way to help organize your shopping lists. When you are viewing your shopping lists in Menu Planner, you have the ability to filter your list by picking a specific store, or you can choose to view All Stores. While viewing a specific store, Menu Planner will group your items by store aisle. But when you are viewing All Stores, it groups the items by Shopping Groups. This was added to avoid simply listing all of your shopping items from multiple stores into an un-ordered list. So you can still see all of the produce from all stores grouped together, for example.
Custom Data Options

Food Details

Quick Start guide to creating meal plans

Follow these steps to get started with creating a meal plan:
  • From the weekly view, select the day you want to create a meal plan for. This will take you to that day's view.
  • The first thing to add is one or more Meal Types by clicking on the "+" button at the top of the screen.
  • Select the Meal Type you want to start with. I'll pick Breakfast.
  • Now you'll see your first meal type on the day view. From here you can add more Meal Types to the day if you want, or you can add some food to the breakfast Meal you just added to your plan. To add some foods, tap on the "+" button next to the meal type you just added.
  • You'll be presented with your list of foods and recipes that you can now choose from. If you don't have any listed, or need to add a new one, just tap on the "+" button at the top of the screen. You can also filter this list using the button along the top titles "All, Foods, and Ingredients".
  • I selected Eggs for my meal. Now you're taking back to the menu planning day view with the food you just selected added to the meal type.
  • I repeated the above steps to add a lunch menu as well. Notice the check mark to the left of the lunch item - that indicates that there are ingredients from that recipe on your shopping list. A "hollow" check mark means only some of the ingredients are on your shopping list, and a "full" check mark means all of the ingredients are on the list. You can tap the check box to view ingredients for the recipe, and select which ones you want to add or remove from the shopping list.
  • Now if you go back to your weekly view, you'll see your meal plan that you just created liste for that specific day. From here you can add more meal plans, reorder the days using the grab bar along the right side, or email your meal plan!

Adding Recipes

  • Tap the "+" button on the recipe list screen.
  • Enter the name of your new recipe along with any other information you'd like to provide.
  • Tap the "Ingredients" item to select the ingredients you want to assign to this recipe. You can also use the ingredients screen to add new ingredients that aren's in Menu Planner yet by tapping the "+" button in the top right of the screen.
  • Select all of the ingredients you want to add to the recipe, then tap the "Save" button. You'll then be shown the list of ingredients you selected. From here, you can tap on each ingredient to modify the amount or add notes.

  • When you're finished editing the recipe details, tap the "Save" button. This will save your new recipe in Menu Planner.

Preparing your data for the Menu Planner website to edit recipes

Version 2.0 added the ability to manage your recipes through our website. Here's a quick rundown of how to utilize this time saving feature:
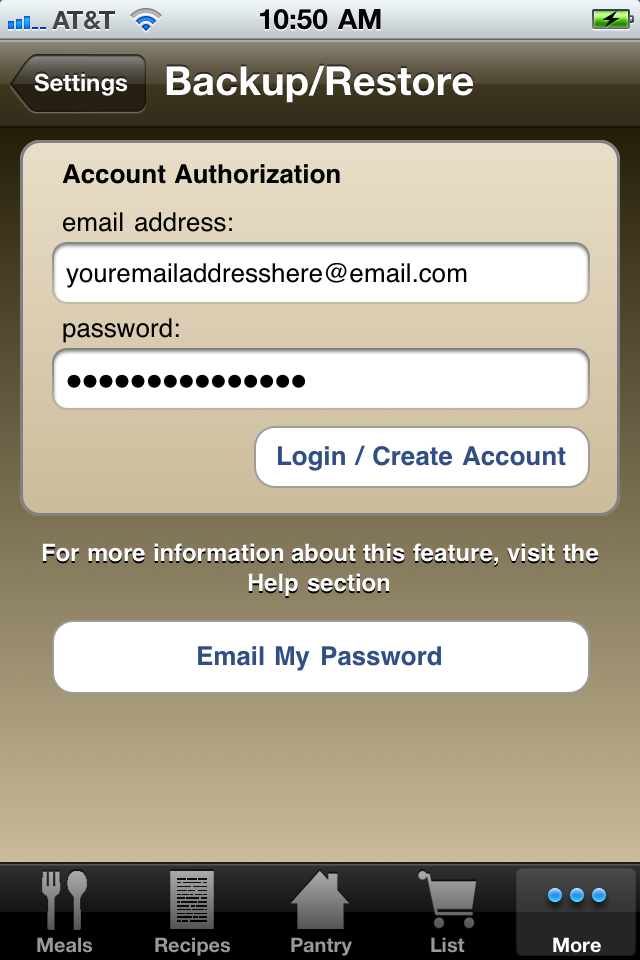
First make a backup of your data from within the app on your device. This will make your data available on the website.
  • Tap on the Backup/Sync/Restore Data item under the "More" tab in the app.
  • If you haven't already created an account, enter your email address and select a password. This is the same login information you'll use to access your data on the website.
  • After logging in, Tap the button to backup your data. At this point your data is now available online.
Visit the customer login site to make changes to your data. When you are finished making changes to your data, tap the "Download Changes From Web" button in the app to sync your data.

Keep in mind that the data on the website is always based on the last backup you've made through the app. Before making changes to your data online, you should always make a backup first!

How to Delete Meals (or any other type of item)

Most items in the app can be deleted by doing a "swipe" gesture (just like you can to delete an email) across the item when viewing it in a list. This also applies to meals on the daily view.